
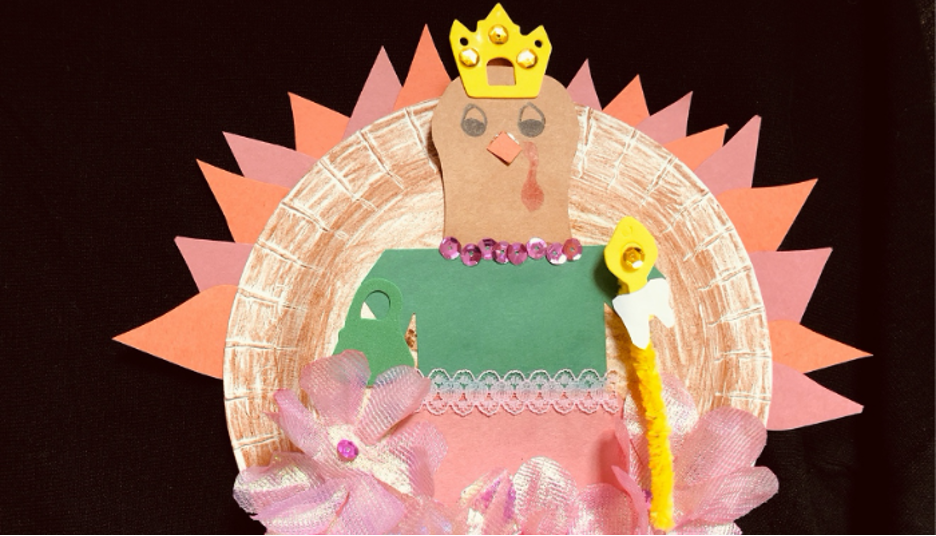
It’s Thanksgiving, and to save our turkey from the dinner table, we’ve given her a disguise! Create a Tooth Fairy turkey of your own, or create your own disguise using our guide below.
Supplies
- 1 small paper plate
- Crayons, colored pencils or markers
- Construction paper in a variety of colors
- Decorating materials (glitter, sequins, pipe cleaners, stickers, ribbon, etc.)
- Scissors
- Glue
- Newspaper / drop cloth
Steps
- Cover your work area with newspaper or a drop cloth to contain any stray glue, paper scraps or glitter.
- Color the back of your plate brown to create the body of your turkey.
- Using brown construction paper, draw and cut out a head and neck for your turkey, then glue it to your plate. We also used a bit of orange construction paper to create a beak, but feel free to draw one or use other materials you have on hand.
- Draw and cut out feathers from your construction paper for your turkey. We used pink and orange for our Tooth Fairy, but you can use the colors that work best to help disguise your turkey.
- Glue the feathers to back side of your project.
- From the rest of your construction paper, draw, color and cut out clothes to suit your turkey’s disguise.
- Add decorations to help disguise your turkey! We took a trip down the craft aisle at our local dollar store to find a crown, shoes and flowers to help create our turkey’s outfit. Have fun with things from around the house, too. An inexpensive flower lei helped create our turkey’s skirt.
For ideas on some other craft projects to do with your kids, CLICK HERE.
